
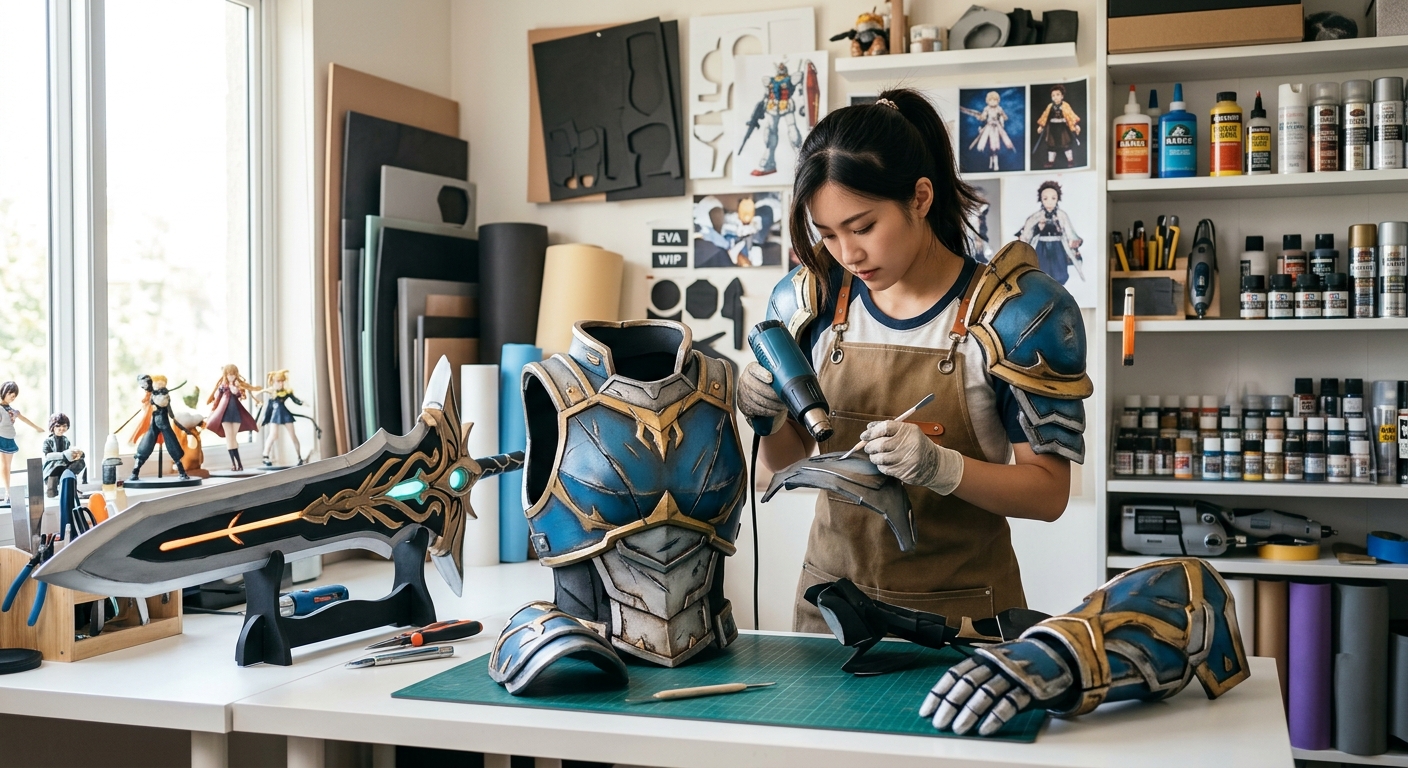
Crafting armor from foam transforms flat sheets into dimensional pieces that look like metal, leather, or futuristic plating. The difference between a beginner build and a convention-winning costume often comes down to technique, not talent. You already know how to cut and glue foam. Now it’s time to master the methods that make your work look professional.
This foam armor cosplay tutorial teaches intermediate and advanced crafters how to pattern complex armor pieces, heat-form [EVA foam](https://en.wikipedia.org/wiki/EVA_foam) into three-dimensional shapes, seal surfaces for smooth finishes, and paint with techniques that mimic metal and weathered materials. You’ll learn to avoid common mistakes that make foam armor look homemade instead of stage-ready.
Understanding EVA Foam Types and Densities
Not all foam sheets work the same way. EVA foam comes in different densities, and choosing the right one affects how your armor bends, holds detail, and accepts paint.
High-density foam (around 70 Shore) holds crisp edges and fine details. Use it for small props, gauntlet details, or any piece with intricate patterns. It’s stiffer and requires more heat to shape.
Medium-density foam (around 50 Shore) balances flexibility with structure. This is your workhorse material for chest plates, pauldrons, and leg armor. It shapes easily and maintains curves without flopping.
Low-density foam works for padding or backing layers but lacks the rigidity for standalone armor pieces. Save it for comfort layers inside helmets or to cushion straps.
Foam mats from hardware stores often work fine, but they may contain texture on one side. Smooth craft foam gives cleaner results but costs more. Test your foam before committing to a full build. Heat a scrap piece and see how it responds.
Patterning Techniques for Complex Armor Shapes
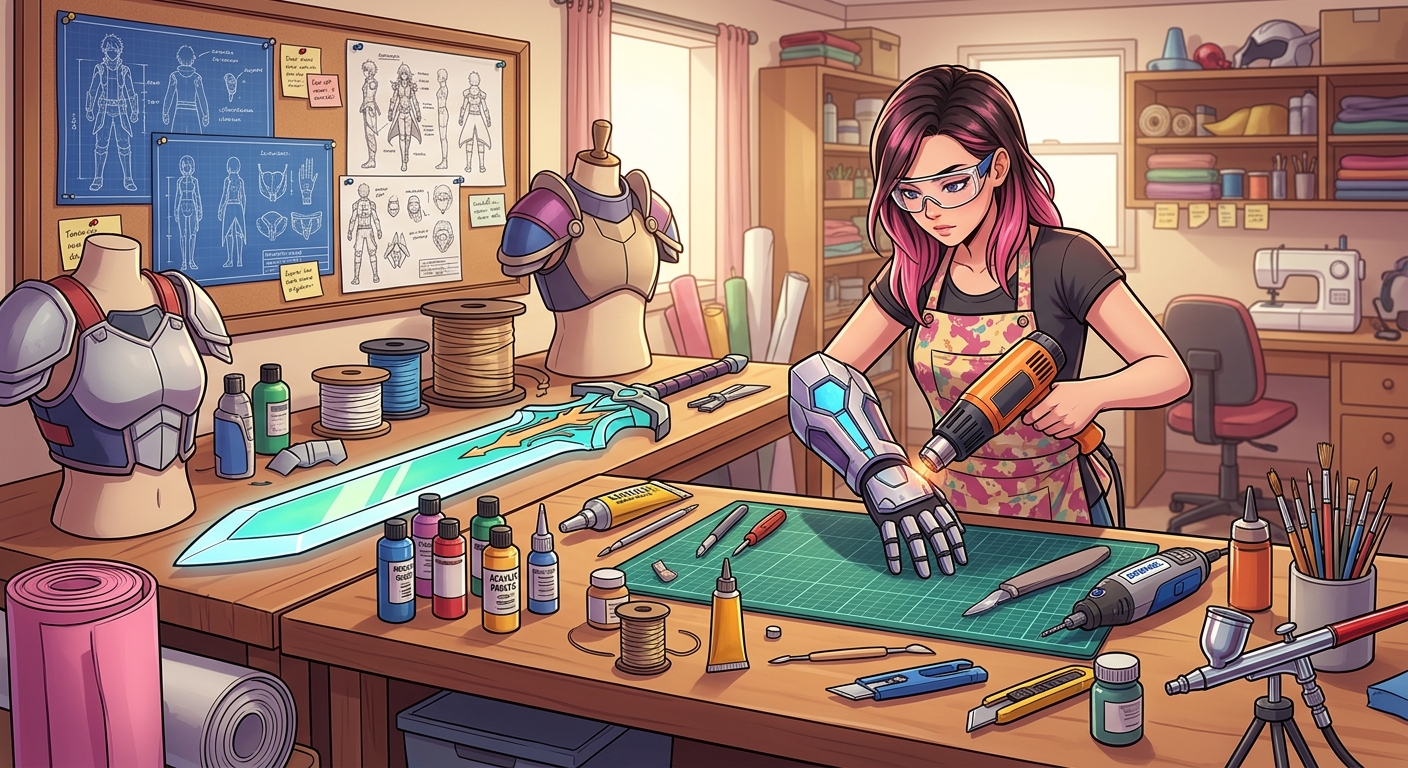
Flat patterns turn into three-dimensional armor through careful planning. Your pattern determines fit, proportion, and how pieces connect.
Start with these steps:
- Wrap your body (or a dress form) with plastic wrap, then cover it with masking tape. Draw panel lines directly on the tape where you want seams.
- Cut the tape pattern off in sections, then flatten each piece onto paper. Add seam allowance (usually 1 cm) around edges that will overlap.
- Transfer the paper pattern to poster board and build a mock-up. Tape it together and check the fit. Adjust before cutting foam.
- Label every piece with grain direction arrows. Foam has a grain that affects how it bends.
For characters like Saber from Fate/stay night or Erza Scarlet from Fairy Tail, armor curves in multiple directions. Break complex shapes into smaller panels. A breastplate might need five or six pieces instead of one large sheet.
Symmetrical pieces only need one pattern. Cut the foam, flip the pattern, and cut the mirror image. This saves time and ensures matching sides.
Heat Shaping Methods That Create Dimension
Heat transforms flat foam into curves, domes, and organic shapes. A heat gun is essential. A hair dryer won’t get hot enough.
Hold the heat gun 15 to 20 cm from the foam surface. Move it constantly to avoid burning. The foam will become glossy and slightly floppy when ready to shape.
For gentle curves, heat the foam and press it over a rounded object like a bowl, ball, or foam mannequin head. Hold it until it cools (about 30 seconds). The shape sets permanently.
For sharp bends, score the back of the foam with a blade before heating. Cut halfway through the thickness. Heat the scored line, then fold. The cut closes and creates a clean angle.
Contact cement applied before heating creates controlled curves. Brush cement on both surfaces that will touch, let it dry until tacky, then heat and press together. The bond forms instantly and holds the curve.
- Heat the foam until glossy, not until it bubbles or browns
- Work in a ventilated area because heated foam releases fumes
- Wear heat-resistant gloves when shaping hot foam
- Cool shaped pieces completely before handling roughly
Battle damage and dents come from strategic heating too. Press a hot metal tool (like a soldering iron tip or heated metal rod) into the foam surface. It melts and creates realistic damage texture.
Sealing and Priming for Paint-Ready Surfaces
Raw foam absorbs paint unevenly and shows every tiny scratch. Sealing creates a smooth, consistent surface.
Plasti Dip is the most popular sealer. Brush it on in thin coats (three to four layers minimum). Let each coat dry completely. It flexes with the foam and fills small gaps.
Some cosplayers prefer wood glue diluted with water (3 parts glue to 1 part water). Brush it on and let it dry. Sand lightly between coats. This method costs less but takes longer.
Heat sealing is faster. Pass a heat gun over the foam surface until it becomes glossy. The outer layer melts slightly and seals. This works for large, simple pieces but won’t fill deep scratches.
After sealing, prime with spray primer designed for plastics. Grey or black primer shows imperfections better than white. Spray in thin coats from 30 cm away. Let it dry, then inspect under bright light. Sand any rough spots and prime again.
| Sealing Method | Coats Needed | Drying Time | Flexibility | Cost |
|---|---|---|---|---|
| Plasti Dip | 3 to 4 | 30 min each | Excellent | Medium |
| Wood Glue Mix | 4 to 6 | 1 hour each | Good | Low |
| Heat Sealing | 1 pass | Instant | Excellent | None |
| Mod Podge | 5 to 7 | 20 min each | Fair | Low |
Painting Techniques for Realistic Metal Effects
Flat paint makes foam look like foam. Layered paint makes it look like metal, leather, or battle-worn armor.
Start with a base coat in your primary color. Spray paint covers faster than brush paint. Use multiple thin coats instead of one thick coat.
Dry brushing adds highlights. Dip a stiff brush in metallic paint (silver, gold, or bronze), wipe most of it off on paper, then lightly brush raised edges and details. The paint catches on high spots and creates a worn metal look.
Washes add depth. Mix black or brown acrylic paint with water (1 part paint to 3 parts water). Brush it over the entire piece. It flows into cracks and recesses, creating shadows. Wipe excess from flat areas with a damp cloth before it dries.
For characters like Guts from Berserk or Clare from Claymore, weathering makes armor look used. Sponge on dark brown or black paint around edges where dirt would accumulate. Add scratches with a fine brush and silver paint.
“The difference between good foam armor and great foam armor is in the paint layers. Never stop at one coat. Build up at least four: base, wash, dry brush, and seal. Each layer adds realism.” (Veteran cosplay armor builder)
Metallic spray paints like Rust-Oleum Metallic or Montana Gold give convincing metal finishes. For magical or fantasy armor, add iridescent or color-shift paints over the metallic base.
Seal finished paint with clear coat spray. Matte finish looks like aged metal. Gloss finish mimics polished armor or lacquered surfaces.
Attachment Methods That Hold During Wear
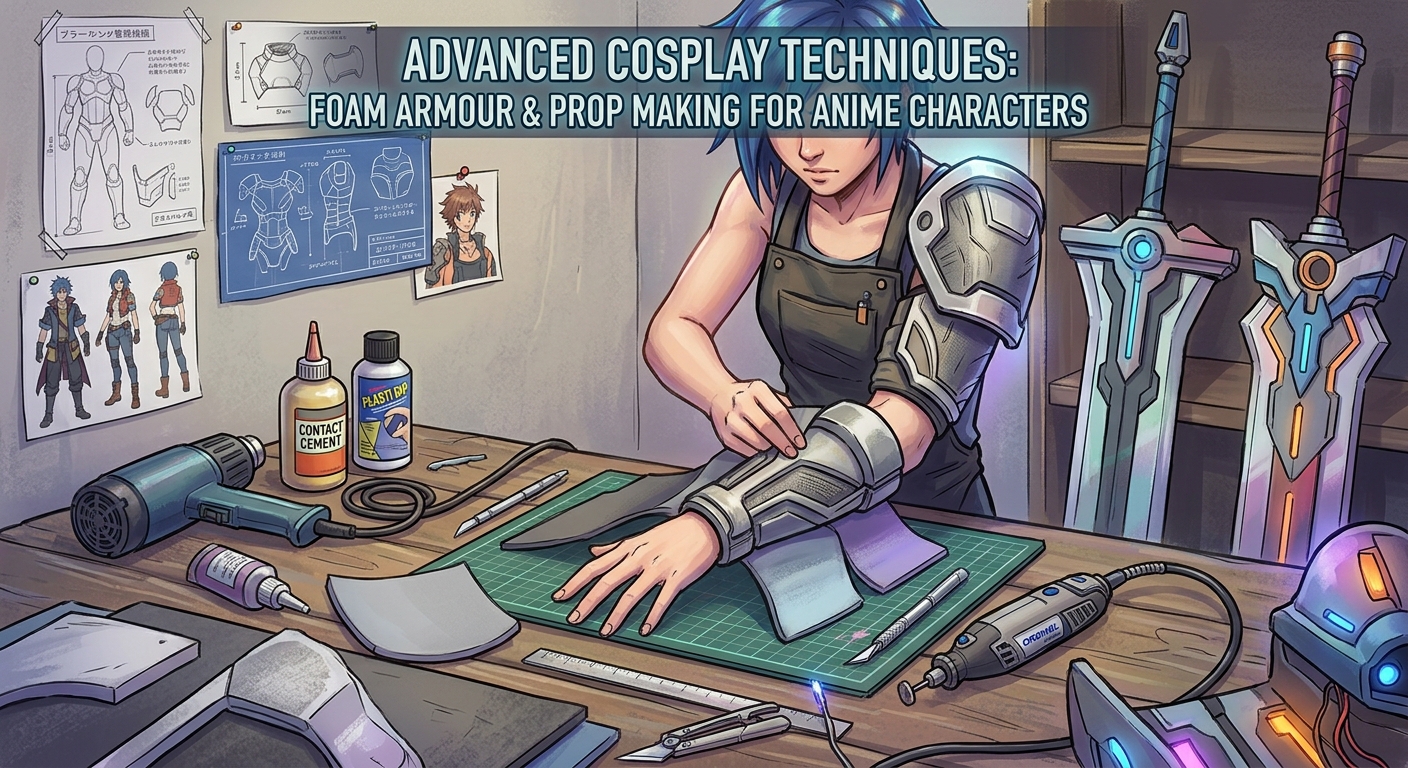
Armor that falls apart at a convention wastes all your build time. Attachment needs to be strong, hidden, and comfortable.
Contact cement bonds foam to foam permanently. Apply to both surfaces, let dry until tacky, then press together. The bond is instant and doesn’t require clamping.
Hot glue works for quick tacks and filling gaps but becomes brittle over time. Use it for temporary holds or areas that won’t flex.
For attaching armor to your body, use elastic straps. Glue or rivet elastic to the inside of armor pieces. The elastic should be snug but not tight. Test by wearing the piece and moving through full range of motion.
Hidden closures work better than visible ones. Velcro strips on overlapping edges let you put armor on and take it off easily. Place the soft side against your skin and the hook side on the armor.
Rare earth magnets create invisible closures. Glue magnets inside overlapping edges. They snap together and hold firmly. Use strong magnets (at least 10 mm diameter) for pieces that bear weight.
D-rings and buckles add adjustability. Rivet them to foam with Chicago screws or pop rivets. Thread nylon strapping through for adjustable fit.
Common Mistakes and How to Fix Them
Even experienced builders make errors. Knowing how to fix them saves projects.
Warped pieces: Foam warps if stored flat under weight. Store finished armor on curved surfaces or hanging. If a piece warps, reheat it and reshape it over the correct form.
Visible seams: Seams show when pieces don’t align perfectly. Fill gaps with flexible caulk or foam clay before sealing. Sand smooth after drying.
Cracked paint: Paint cracks when foam flexes. Always seal foam before painting, and use flexible primers. Add a flex additive to acrylic paints if cracking continues.
Uncomfortable edges: Sharp foam edges dig into skin. Bevel all edges that touch your body with a blade or rotary tool. Add foam padding on the inside if needed.
Armor that won’t stay in place: Poorly placed straps cause armor to shift. Straps should pull toward your body’s center of mass. Test placement by wearing the piece and moving around before gluing straps permanently.
Advanced Details That Elevate Your Build
Small details separate amateur work from professional-level cosplay.
Rivets add mechanical realism. Use foam clay to sculpt rivet heads, or glue small foam circles. Paint them to look like metal fasteners.
Panel lines create the illusion of separate plates. Carve shallow grooves with a wood-burning tool or rotary tool. Fill the grooves with black paint or wash.
Texture adds material realism. Press textured fabric, mesh, or carved stamps into heated foam. The texture imprints permanently.
LEDs bring sci-fi and magical armor to life. Drill holes for LED placement, wire them to a battery pack hidden inside the costume, and diffuse the light with translucent foam or plastic.
For anime characters with ornate armor like those in Fate/Grand Order or Genshin Impact, craft foam (2 mm thick) works better than EVA foam for fine details. Cut intricate patterns and glue them onto the base armor as appliqués.
Fabric integration softens the look. Glue fabric to foam edges for a finished look, or sandwich fabric between foam layers for a quilted appearance.
Building Props That Match Your Armor
Weapons and accessories should match your armor’s quality and style.
Large weapons need internal supports. Insert PVC pipe, wooden dowels, or aluminum rods through the center of foam blades or staffs. This prevents bending and adds weight for better balance.
Layering creates depth. Stack multiple foam layers with slight offsets to create dimensional details. This works well for gun barrels, sword guards, or shield bosses.
For characters like Cloud Strife from Final Fantasy VII or Ichigo Kurosaki from Bleach, oversized weapons need to be lightweight. Use thinner foam (5 mm) for large flat surfaces and reserve thicker foam (10 mm) for edges and structural parts.
Smooth curved props require different techniques than angular armor. Wrap foam around a form (like a pool noodle for cylinders or carved insulation foam for organic shapes), glue the seam, then carve and sand to refine the shape.
Paint props with the same layering techniques as armor. Base coat, wash, dry brush, and seal. Match weathering patterns between armor and props so they look like they’ve been used together.
Making Your Armor Convention-Ready
Finished armor needs to survive transport and wear.
Pack armor in rigid containers with padding. Foam pieces can dent if crushed. Use blankets, bubble wrap, or foam padding between pieces.
Bring a repair kit to conventions: contact cement, hot glue gun and sticks, extra elastic, safety pins, and matching paint for touch-ups.
Test your full costume before the event. Wear it for at least an hour. Sit, walk, bend, and reach. Mark any uncomfortable spots and add padding or adjust straps.
Convention floors are hard. Add cushioned insoles to boots. Your feet will thank you after eight hours of walking.
Plan bathroom breaks. Some armor designs make this difficult. Practice getting in and out of your costume, or bring a helper.
Bringing Your Character to Life Through Craftsmanship
Building foam armor teaches patience, problem-solving, and attention to detail. Each piece you complete improves your skills.
Start your next build with a clear plan. Choose your character, gather reference images from multiple angles, and break the armor into manageable pieces. Work on one section at a time instead of trying to build everything simultaneously.
Your first advanced build won’t be perfect. That’s expected. Each mistake teaches you something. The cosplayer who wins awards didn’t start with perfect technique. They started with curiosity and kept building.
Heat up that foam, shape something new, and see where your skills take you.